Hello, here is my belated post for week 4 of the Distress Oxide ink blending combinations as set out by Kristina Werner's blog. You will find all the details and videos there to inspire you. Week 4 of Kristina's colour blending can be found here. This week's selection concentrates on browns, greys and black.

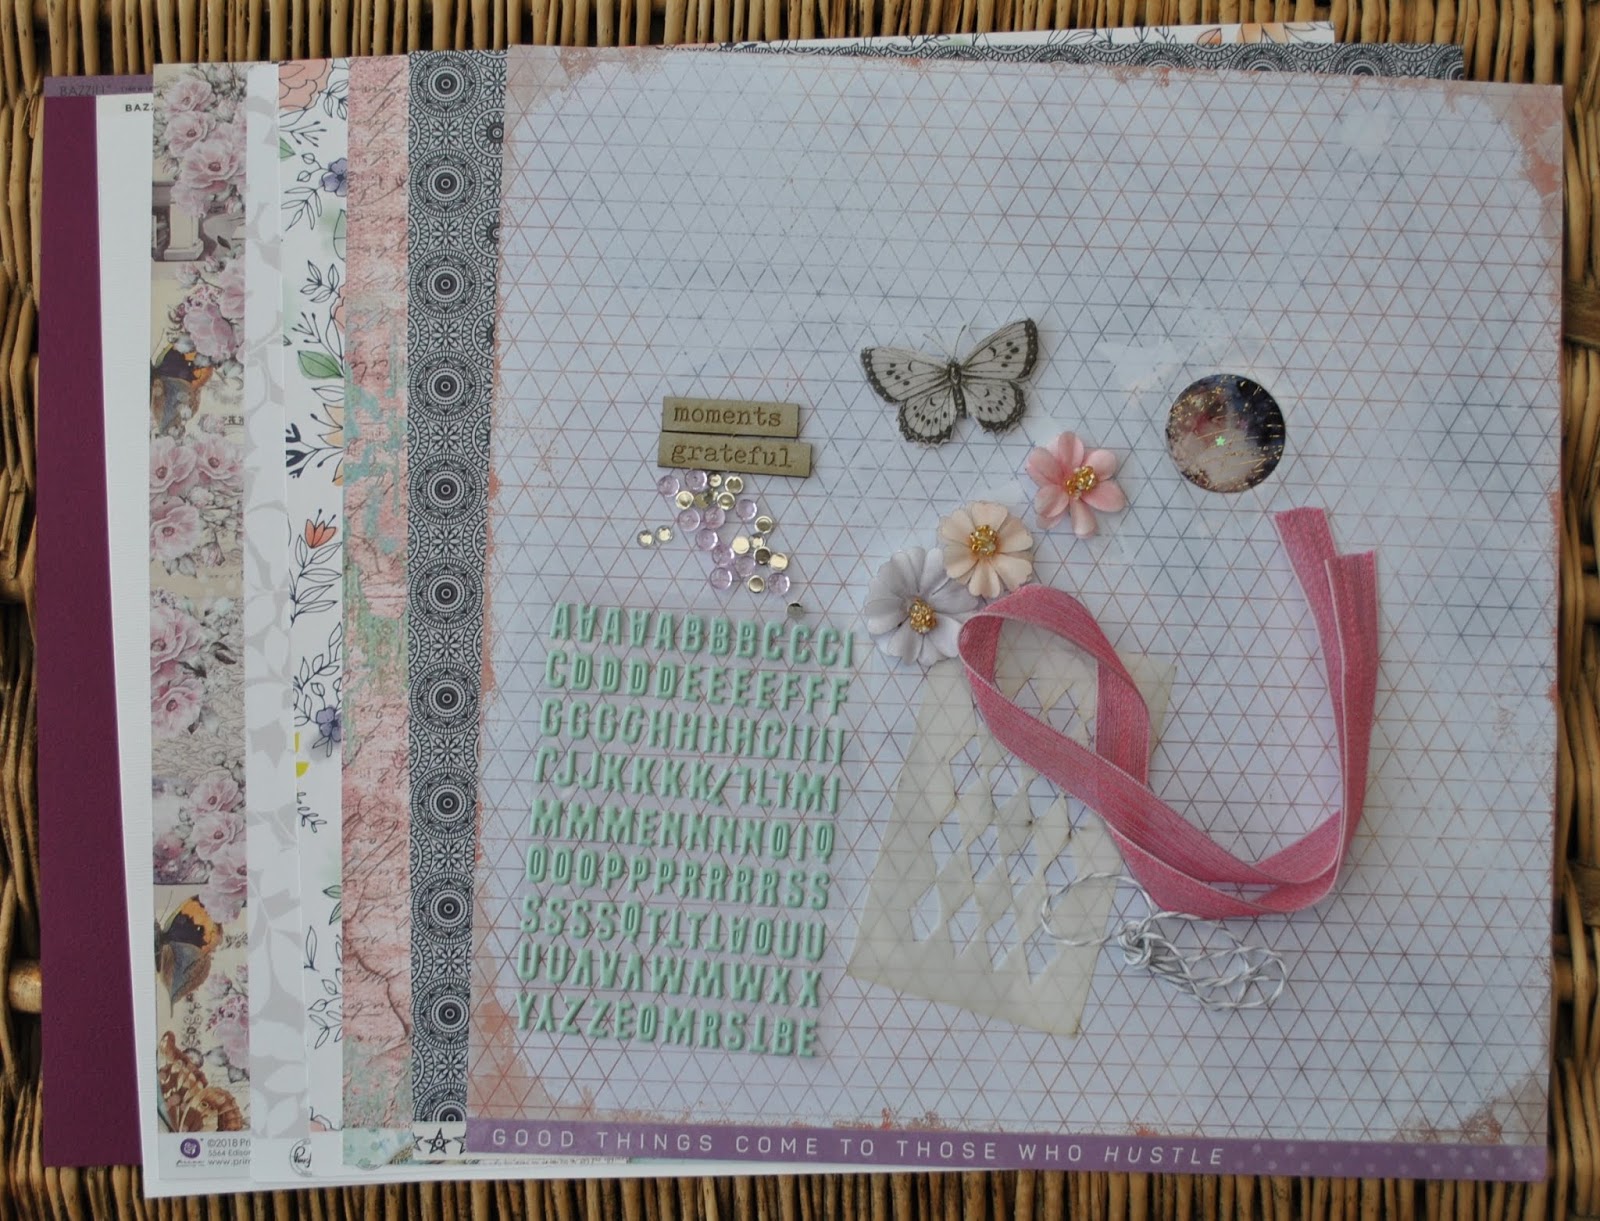
I made my samples big enough to make into cards. I have treated them all with different techniques. For the blends I used Distress Oxide Inks, Mini Round Blending Tools and foam pads all purchased from Papermaze. In previous weeks I have used Neenah Classic Crest Solar White from Crafter's Companion, this time I have used watercolour paper.
Oxide Combo 1 - Cracked Pistachio, Faded Jeans, Dusty Concord

This card is a small 5" square card blank. I trimmed the blended card to fir and inked the edges. Then I cut my flower stem with one of the new dies from Tim Holtz Wildflower Stem set. The greeting is from Crafter's Companion. The card I die cut is also from Crafter's Companion - Centura Pearl.
Oxide Combo 2 - Shaded Lilac, Hickory Smoke, Black Soot

For this card I used Tonic Studios Wings and Things dies to cut the butterfly from silver miri card and and the body from black card. Then I cut a shadow for the wings from the blended card. This was mounted on the card blank with 3D foam pads. The greeting is Crafter's Companion.

Oxide Combo 3 - Picked Raspberry, Wilted Violet, Blueprint Sketch

This card was created with another Tonic Studios die set. I cut the die twice onto one piece of white card and cut it out to make a square frame. this was layered over the blended card. The flowers remaining from the die cut were inked and curled than stuck back into place with a dot of glue in the centre only. This allowed the blended colours to show through.
I used miri card to mount the design onto and to cut a greeting (Crafter's Companion). Large flat-blacked pearls were added to the centre of each flower.

Oxide Combo 4 - Milled Lavender, Victorian Velvet, Aged Mahogany

The last card for this week was made with more of the Wings and Things Tonic Studio dies. I die cut directly into the blended card this time. The butterfly was stuck onto the card blank along the body only, so the wings move. The greeting is from Crafter's Companion again and the words and butterflied have a light touch of glitter added with Nuvo Crystal Glitter Drops.
Thanks for looking, I will be back with week 5 as soon as the cards are made.
Lynn x
See previous week's cards here:
Week 1
Week 2
Week 3