It's now three years since Emily and Jack's wedding, and it's taken a while to put this 'not so mini' - mini wedding album together for them. I love the work of Scrap Queen, who designs and makes scrapbook albums, with very clever pockets, flaps and various other ingenious ideas for presenting treasured photos. You can see this talented lady's work in many Youtube tutorials, which are informative, creative and amusing. This album is based on Scrap Queen's Grand Hotel Stamperia Mini Album.
I have placed a video of the complete album on Youtube and it can be found HERE. For the
cover - the large frame has a piece of acetate over the window and a photo can
be placed inside, it is easy to change this photo if needed.
The spine has the words ‘The Wedding of’ near the top and the name of the bride
and groom on the pocket near the base. The pocket contains a tag with the date
of the wedding. The lettering was cut from Avocado Bazzill with the Windsor
Tonic Studio upper and lower alphabet and numeral dies.

On the back cover there is a Tim
Holtz bookplate with the year, this holds a corded tassel in place, which in
turn wraps around to the front, to hold the album closed by being wrapped
around a decorative button.

Inside the front cover is a
pocket with a flap designed to look like a suitcase. Inside this a small
notebook is stored for the bride and groom to make notes about their day. I
plan to add the recipe for the wedding cake and other details like the dress
etc. I covered the note book with patterned paper.
The case
closes with magnets and the straps were decorated with brads. I punched a label
and added more die cut letters.
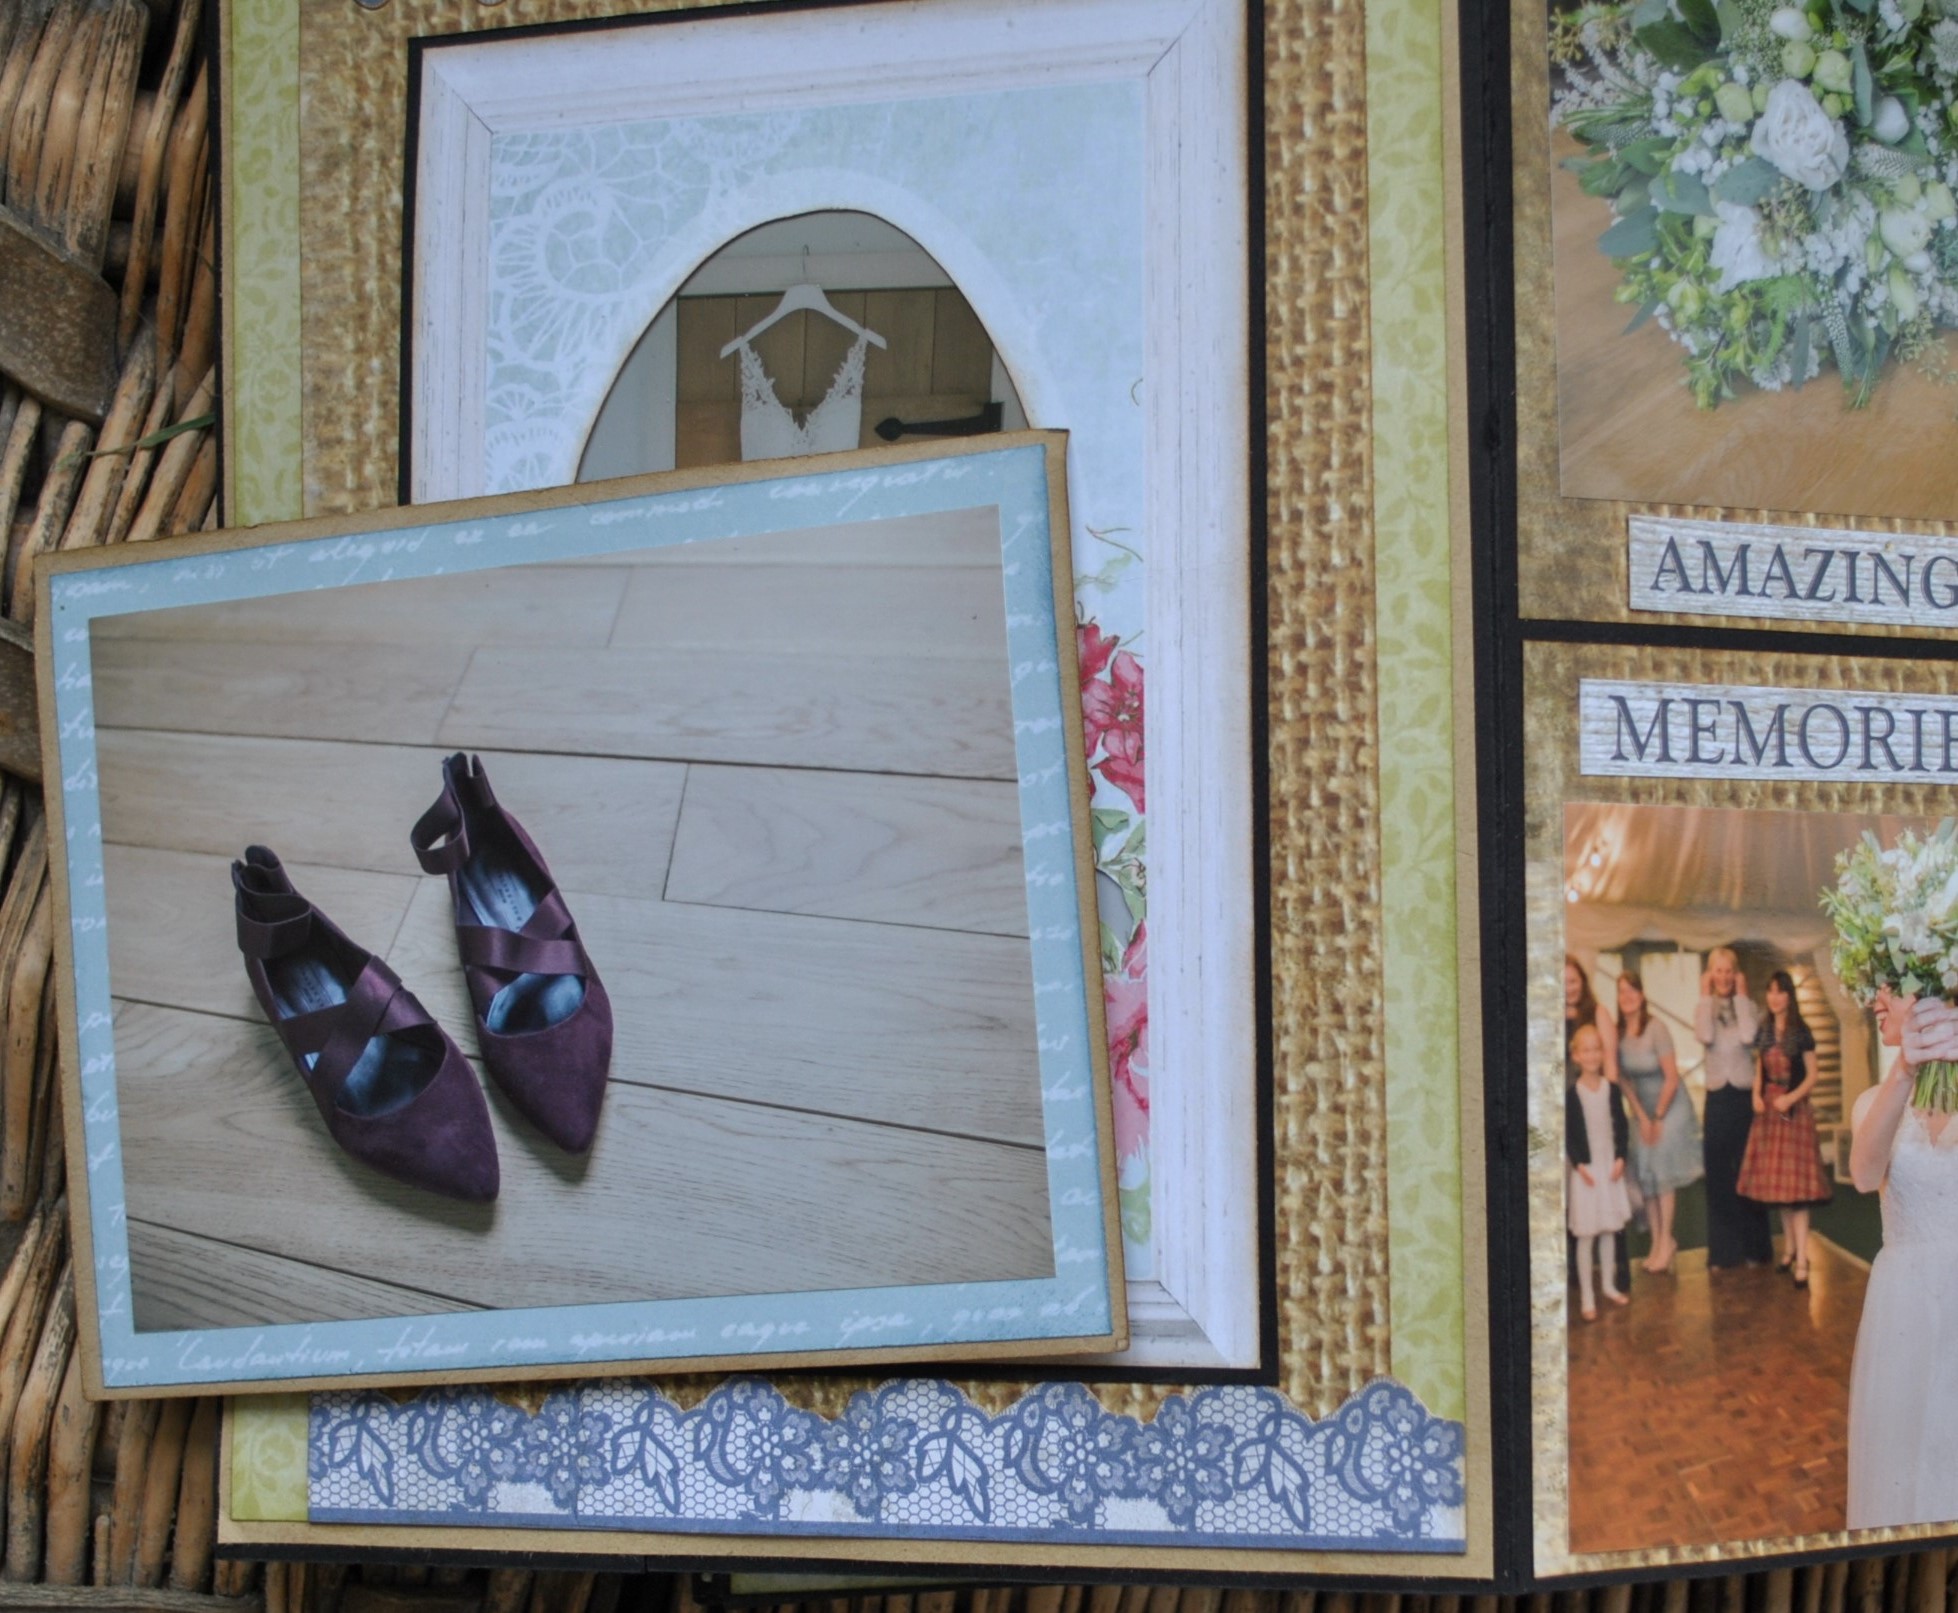
On page
one I have chosen to feature preparations for the wedding. This page has a
series of flaps and pockets which open out to tell more of this story. The page
shows a portrait of the girls in a frame made with an old Sizzix oval frame
die, this in turn is mounted onto a pocket which holds a tag for a total of
four small images.
The front of this page is held in
place with a key turn secured by a brad. Swing the key to one side to open two
flaps and reveal what’s hidden inside.
Page two is
decorated with two Kaisercraft Curios. This page has two pockets which
have flaps, held in place with magnets. Each pocket contains a tag with a
photo on each side.
There is a flap with a photo, held in place with a
wooden button and a loop of Baker’s Twine. This opens out to show two more
photos. Then the whole page opens out to display more photos, and a tag with
two much smaller pictures.
There is also a tag with a photo on each side.
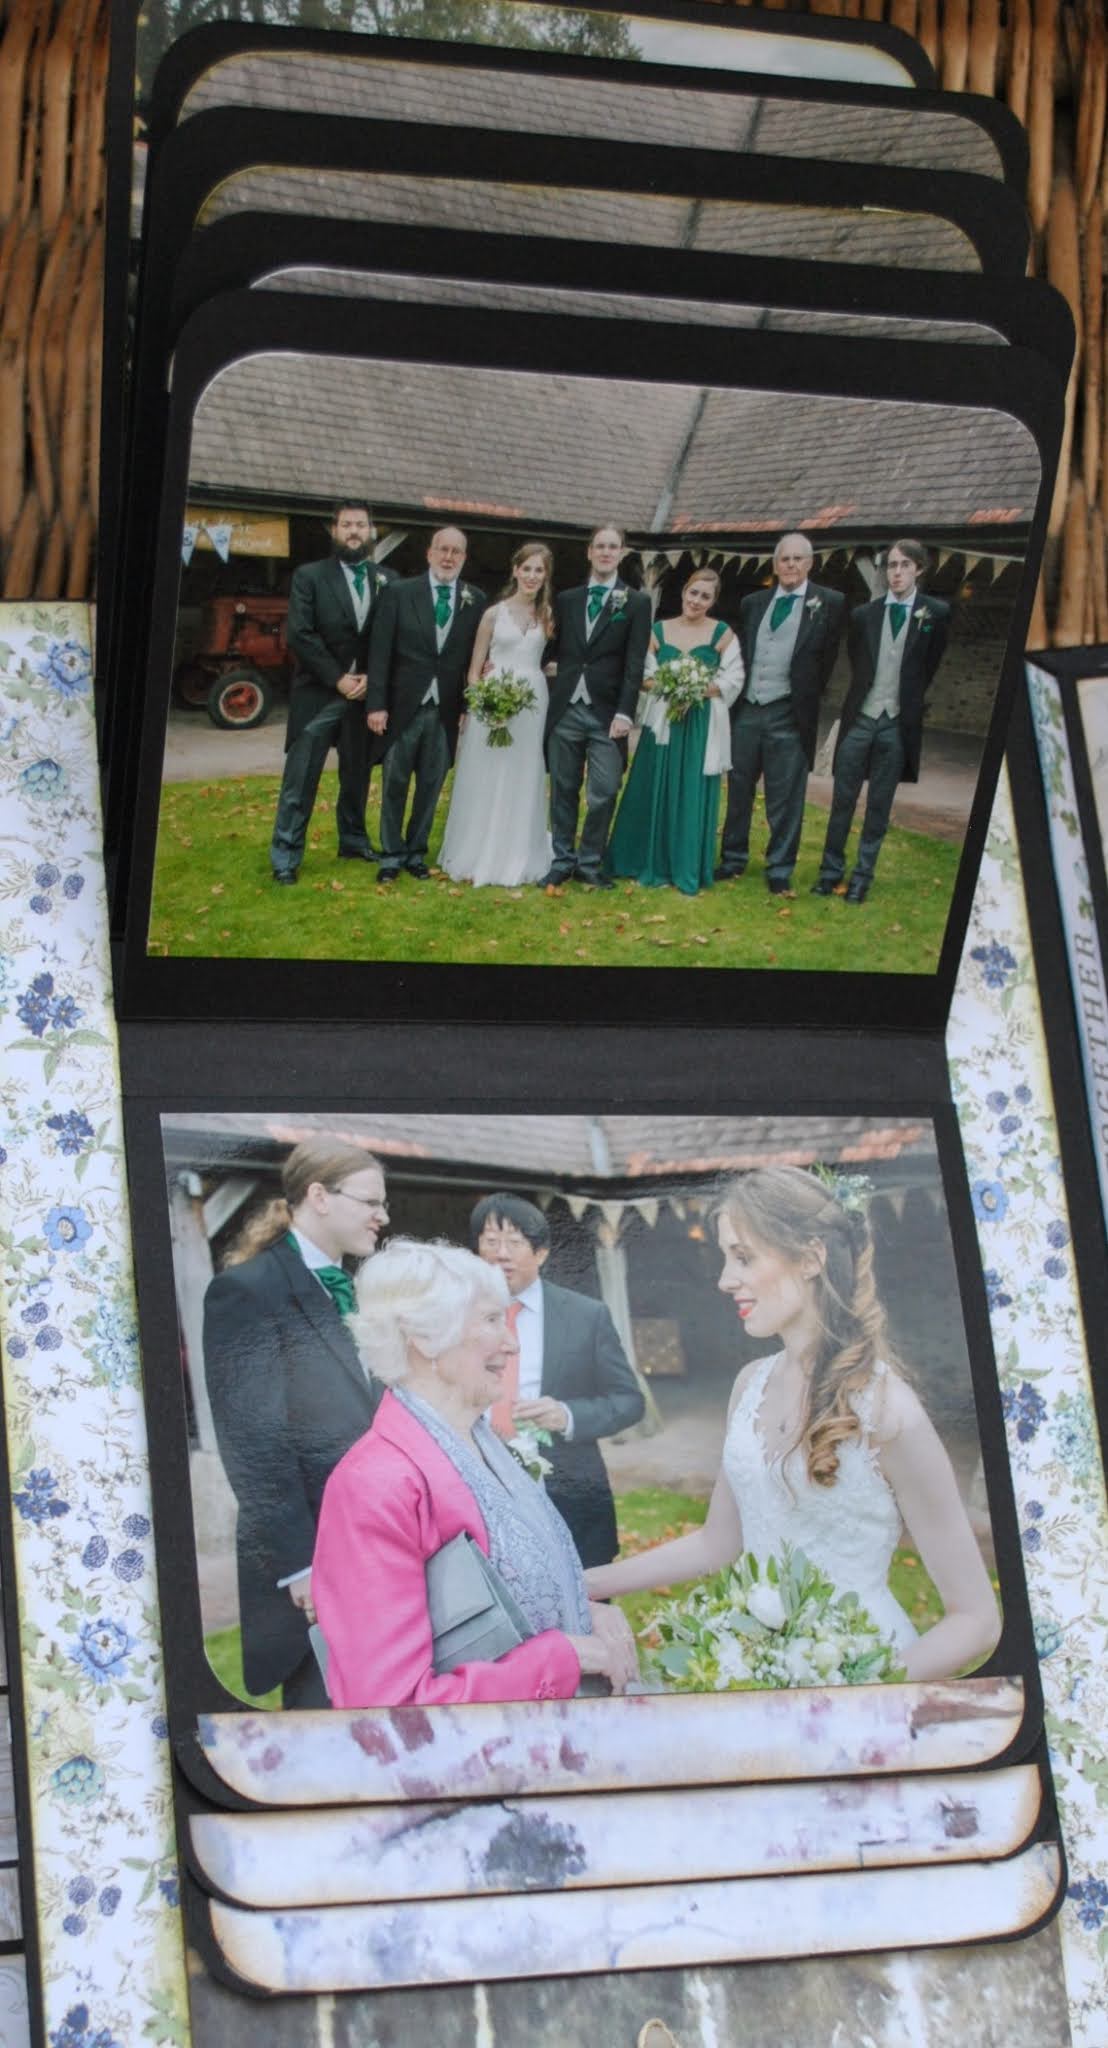
Page three has two large pockets.
The smaller one was made the right size to hold one of the wedding invitations.
The larger pocket houses a folder for more photos. The subject for
this page is the ceremony.
Pages
four and five are a mirror image of each other, the flaps on both pages hold
six small cards, with photos mounted on both sides. These photos show lots of
images of the guests.
When
these flaps open out there are more photos underneath.
Page five is a waterfall style
presentation with lots of group photos.
I found a lovely mother-of–pearl
button to hold it flaps shut using twine and a tiny key charm.

Page seven is a pocket page at
the front. Both these little flaps have pockets on their fronts to hold tags
with photos on both sides. One side of each flap is held in place with a magnet
under the tiny leaf embellishment. There is another folder tucked under a big
pocket on this page. This is pulled out by another tassel.
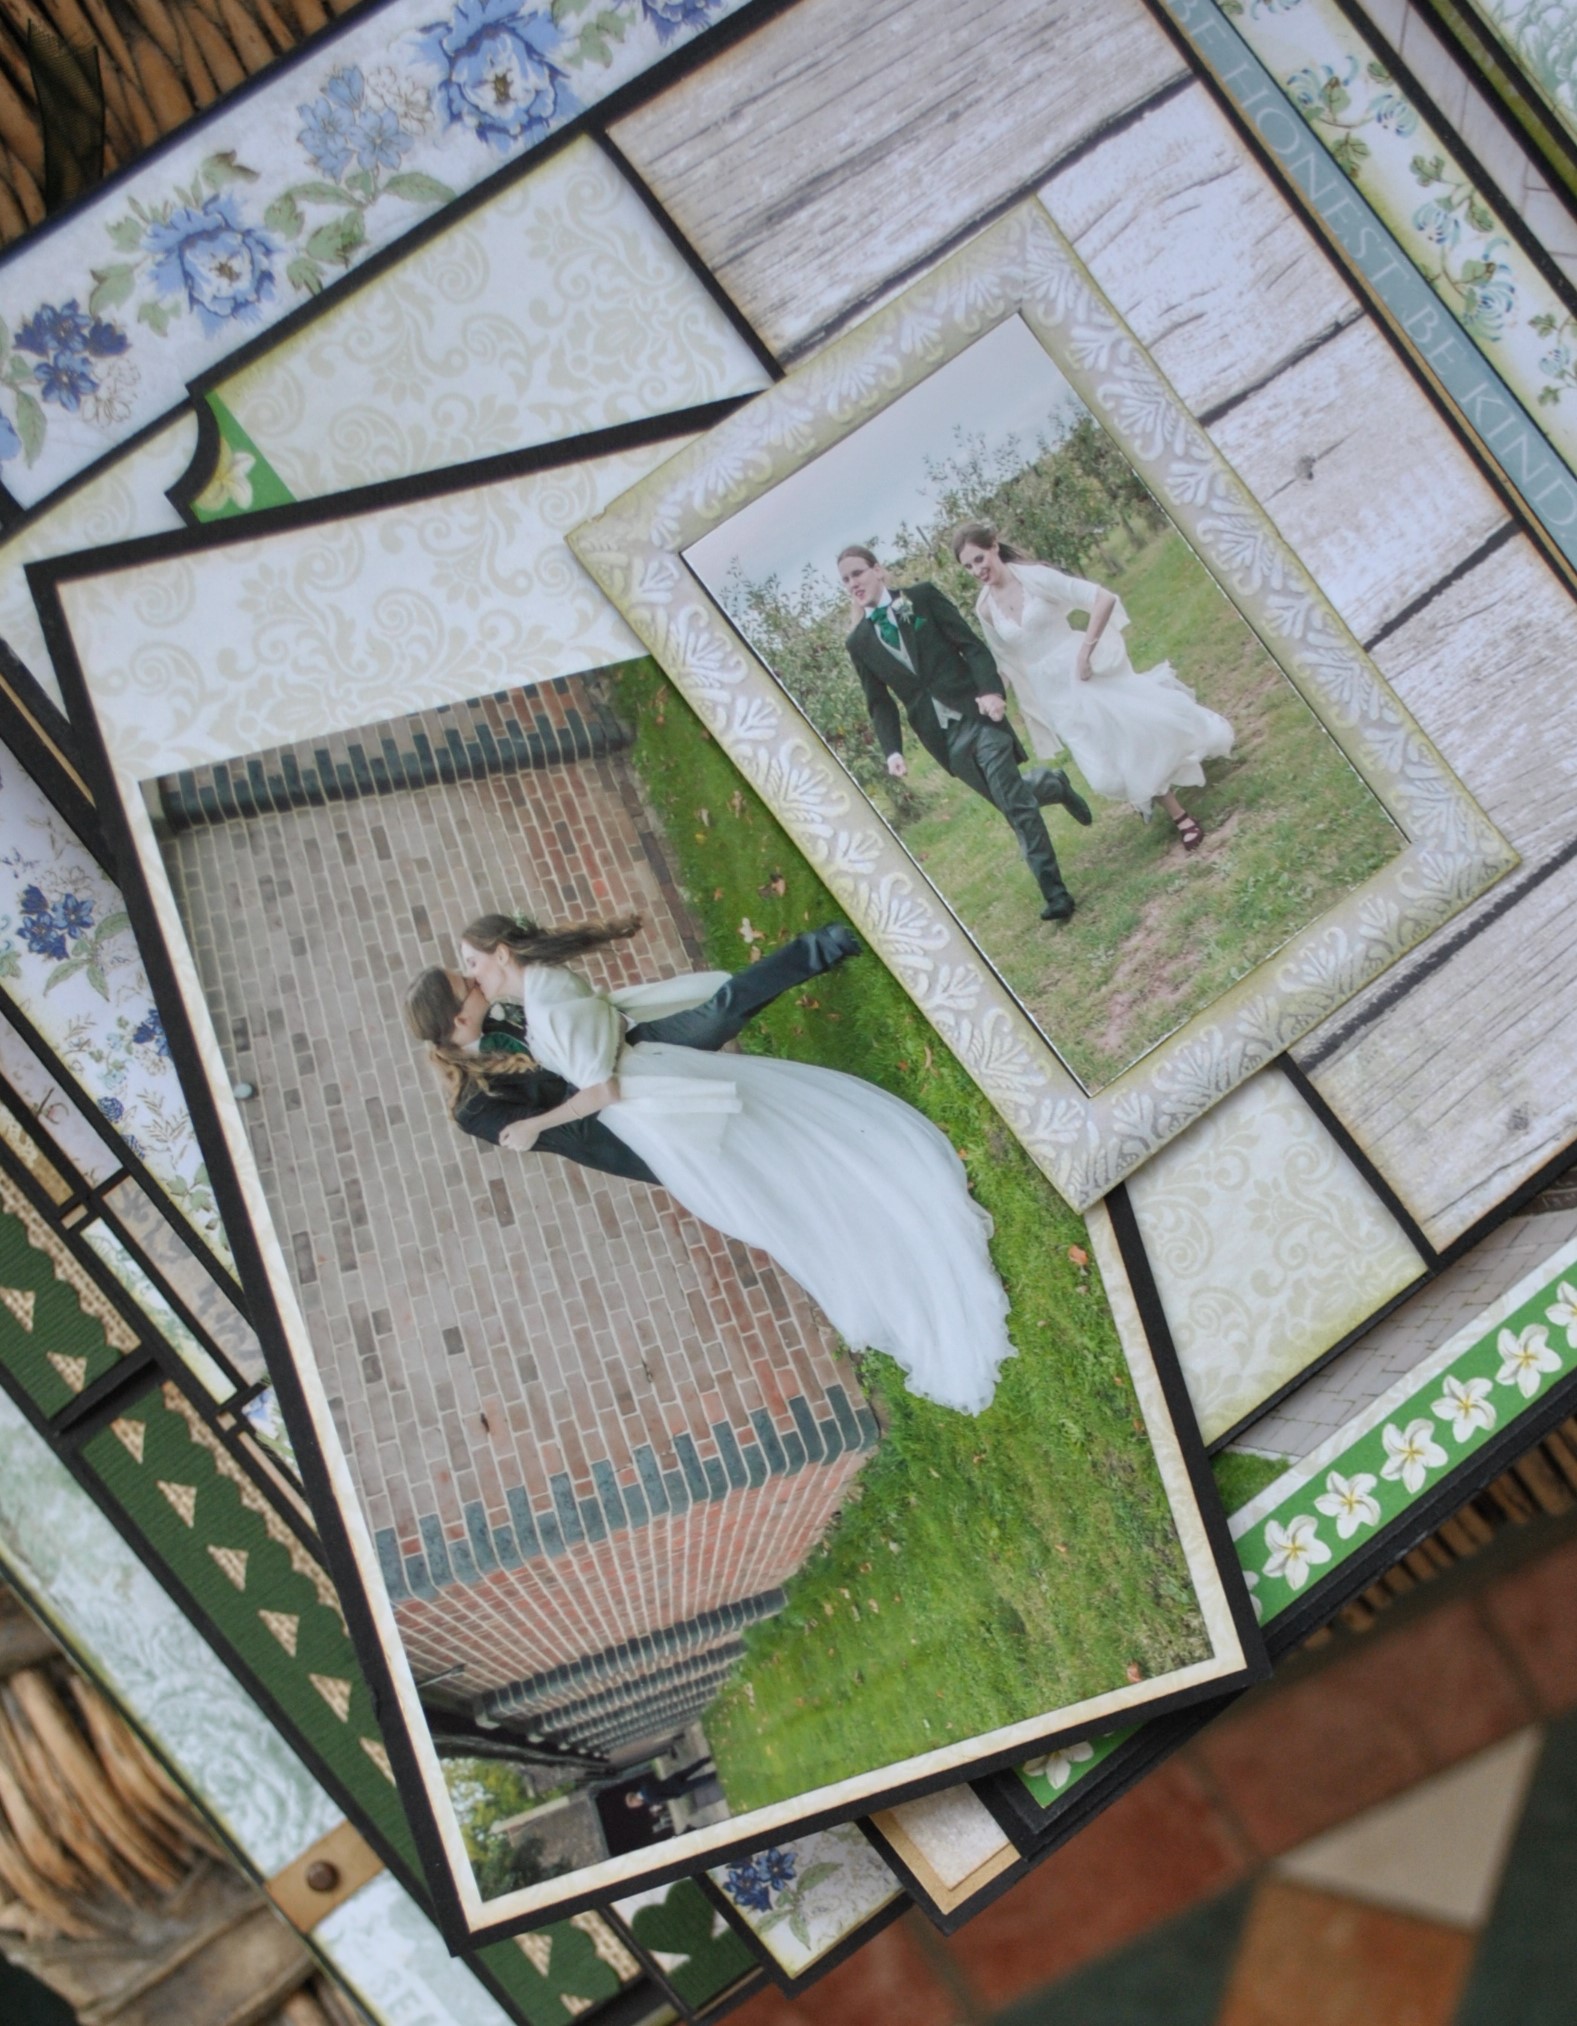
Page eight opens out in four directions and holds lots of pockets and tags. The subject is the photo shoot in the grounds and orchard.
Onto page nine - which starts with a framed photo of James and Emily cutting the cake, and the flap for this page is held in place with a key charm turner, secured by a brad.
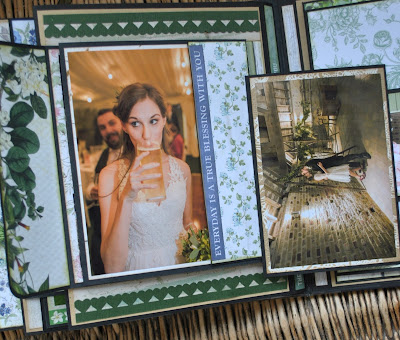
This page is all about the cutting of the cake and the speeches. It opens out on both sides to reveal more photos and a central pocket holding four cards, with photos on both faces.
Page ten has a flap and pocket at the front, then opens out four ways to reveal even more images. These photos were all taken after dark, when the photographer took the couple around the venue again.
Inside the back cover is this clever arrangement for lots of small photos of the Cèilidh dancing and the musicians.
The framed photo slides up to allow you to view the photos hidden away under the bottom two flaps and vice versa.
To finish and protect the album when in the bookshelf, I made a box with more chipboard and paper, but no decorations which might otherwise become damaged in storage. For my version of the album I used the following items:
Craft UK Premium 12" x 12" 250gsm Black cardstock
A4 160gsm Black Cardstock
Kraft and Avacado Bazzill as this was used to make the invitations and other accessories for the wedding.
Most of the patterned papers I used were from the Kaisercraft - Wandering Ivy collection.
A few papers were from other Kaisercraft collections.
Chipboard
Duct Tape
Forest Moss Distress Ink Pad for inking the cut edges of papers
Martha Stewart Heart Border Punch
Tonic Studio Upper & Lower case Alphabet and Number Dies
Organza ribbon as used for the invitations.
Acknowledgements:
Music on video was played for Emily's entrance to the ceremony - Rohan Fanfare Theme, from The Lord of the Rings films, Emily and Jack chose the violin version played by Lindsey Stirling.
Wedding Venue - The Night Yard, Bridge, near Canterbury, Kent
Many of the photos were taken by Richard - The Other Day Wedding Photographer, others by friends and family.
Thanks for looking, and now I move on to make an album for Catherine and George's more recent wedding (2019).
Lynn x


